
Sweet potatoes are one of the most under-appreciated crops you can grow. But it will reward those gardeners who give sweet potatoes what they really need: heat. As you will hear in the podcast with Master Gardener and vegetable expert Gail Pothour, sweet potatoes have some very particular needs. A San Joaquin County (CA) listener wrote in asking how to alleviate the frustration of trying to sprout sweet potato slips from organic potatoes in a cold house in January. That’s the core problem right there — sweet potatoes are tropical plants, closer kin to morning glory than to the white potato, and they simply won’t cooperate without warmth. They’ll sit, sulk, and rot before they ever sprout. The good news is that our region of California is genuinely excellent sweet potato territory. Twenty percent of all commercially grown sweet potatoes in the U.S. come out of Merced County (https://ucanr.edu/sites/default/files/2026-04/anrcatalog%20Sweet%20Potato%20Production%20in%20California%207237.pdf) here in California, so conditions here are about as favorable as it gets. Timing is everything. Don’t rush them into the ground — mid-May is about right, once the soil has had a chance to warm up. Plant slips, not seeds — always buy certified disease-free slips from a reputable nursery or mail-order source. More about creating sweet potato slips, from the Santa Clara Master Gardeners (https://ucanr.edu/site/uc-master-gardeners-santa-clara-county/sweet-potatoes) * To grow your own slips: * Start in February or March. * Fill a shallow container that has drainage holes with moist potting soil. * Nestle in the sweet potato so it is half covered in the soil. Place in a waterproof tray. * Cover to retain humidity and keep it warm. * Remove covering when sprouts appear in 2–4 weeks. * When sprouts are 6 inches long, clip off 1 inch from potato (to prevent possible disease propagation from the mother potato) and plant directly in pots (or root in water then transplant into pots). The Santa Clara Master Gardeners have a video, as well, about creating your own sweet potato slips. Grow in raised beds or ridged rows, about 12 inches apart with three feet between rows. They need room to sprawl. Soil prep matters too. Work in some compost and a light dose of nitrogen before planting, and aim for something loose and sandy — sweet potatoes hate compacted ground. Water consistently for the first few weeks while the vines establish, then ease off. Once they’re growing vigorously, they don’t need much babying. For fertilizer, lean toward something a bit higher in phosphorus and potassium than nitrogen — a 3-4-4 or a 2-2-2 would be ideal. Harvest runs anywhere from 90 to 140 days after transplanting. Watch for the vines to start yellowing — that’s your signal. Don’t wait too long, though. Cold is the enemy at this stage too: roots can suffer damage if temperatures dip below 50 degrees, even briefly. If frost is coming, get them out of the ground and into boxes in a warm, slightly humid spot right away for curing. More about Sweet Potato Curing and Storage From “Growing Sweet Potatoes in the Sacramento Region”: Newly harvested sweet potatoes are not very sweet. They require 1 to 2 months of curing and/or storage before they will develop the sweet, moist taste we expect (part of the starch content turns to sugar). Freshly harvested sweet potatoes can, however, be candied or made into pies. This is a good use for roots that may have been damaged during harvest. Sweet potatoes need to be cured if they are to be stored for long periods. The curing process allows any bruises or blemishes on the thin skin to dry so that rotting in storage is reduced. If the sweet potatoes are not intended for long-term storage, curing is not essential; however, storing freshly-harvested sweet potatoes for several weeks will improve the flavor. After the roots are harvested and thoroughly dry, put them in a warm, humid place (80° to 90°F at 85% relative humidity, if possible), or carefully lay the roots out in a warm, dry, and well-ventilated area for 1 to 2 weeks to cure and until all skin wounds have healed. Commercial sweet potato growers have curing rooms with heaters, humidifiers, and evaporative coolers to maintain proper temperatures and humidity. Providing such curing conditions can be rather daunting for home gardeners, so listed below are some suggestions for curing sweet potatoes at home. Several of these suggestions are courtesy of the Santa Clara County Master Gardeners who conducted a sweet potato trial in 2006. Sweet potatoes need to be handled gently, so be careful when placing the roots into containers (avoid throwing or dropping them) so that they will not become bruised, which will keep them from storing well and can trigger them to start decaying. • Put sweet potato roots in a paper bag with a wet paper towel, close the bag, and cure them in a hot attic for 2 weeks. Then store them in a co...
 Too Many Peppers? Try This Popular Sweet Pepper Relish Recipe
In today’s podcast (above), we talk with renowned pepperhead Dave DeWitt, author
Too Many Peppers? Try This Popular Sweet Pepper Relish Recipe
In today’s podcast (above), we talk with renowned pepperhead Dave DeWitt, author
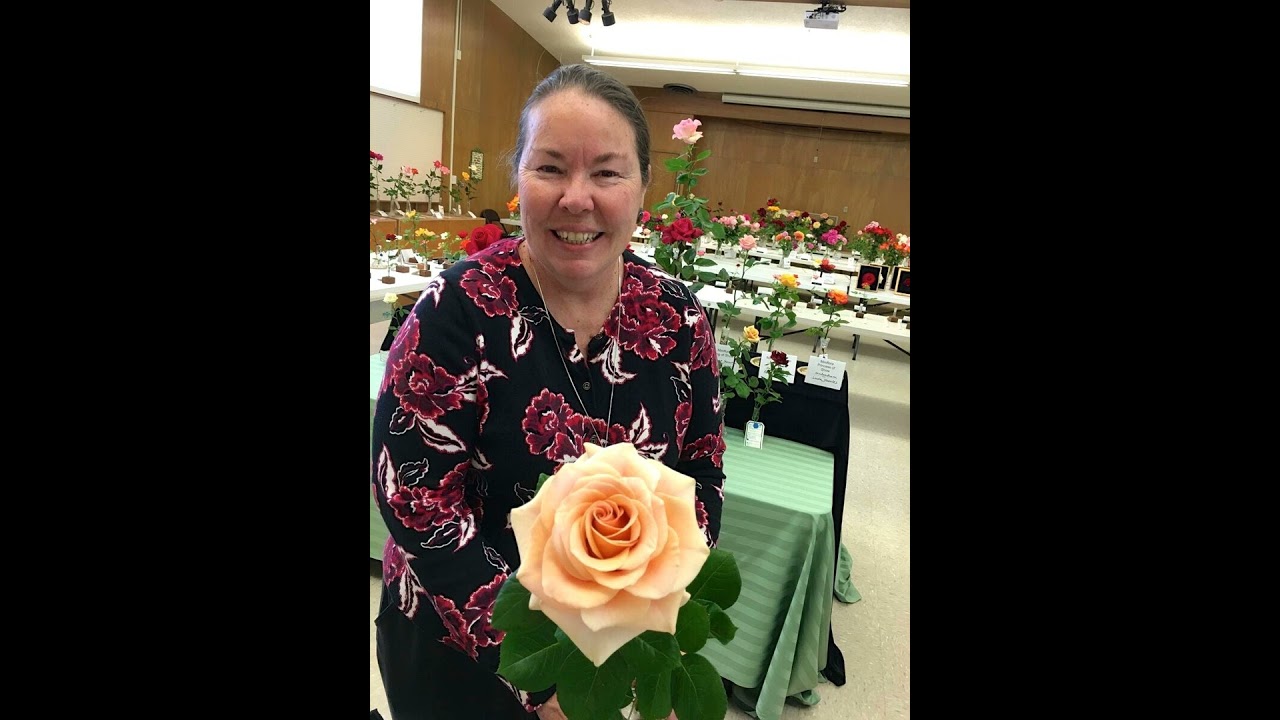 The Best Roses For Cut Flowers
Bullet Points from the Podcast, “The Best Roses for Cut Flowers”
* Always cut
The Best Roses For Cut Flowers
Bullet Points from the Podcast, “The Best Roses for Cut Flowers”
* Always cut
 When Should You Prune Your Blueberries?
I just finished pruning my blueberry plants. In July.
WHAT?!? Aren’t you suppo
When Should You Prune Your Blueberries?
I just finished pruning my blueberry plants. In July.
WHAT?!? Aren’t you suppo
 How to Plant and Care for a Shade Tree
Beyond The Garden Basics is a reader-supported publication. To receive exclusive
How to Plant and Care for a Shade Tree
Beyond The Garden Basics is a reader-supported publication. To receive exclusive
Got a question, press inquiry or idea you'd like to share? Contact us through the form below and let us know how we can help.
Comments & Upvotes